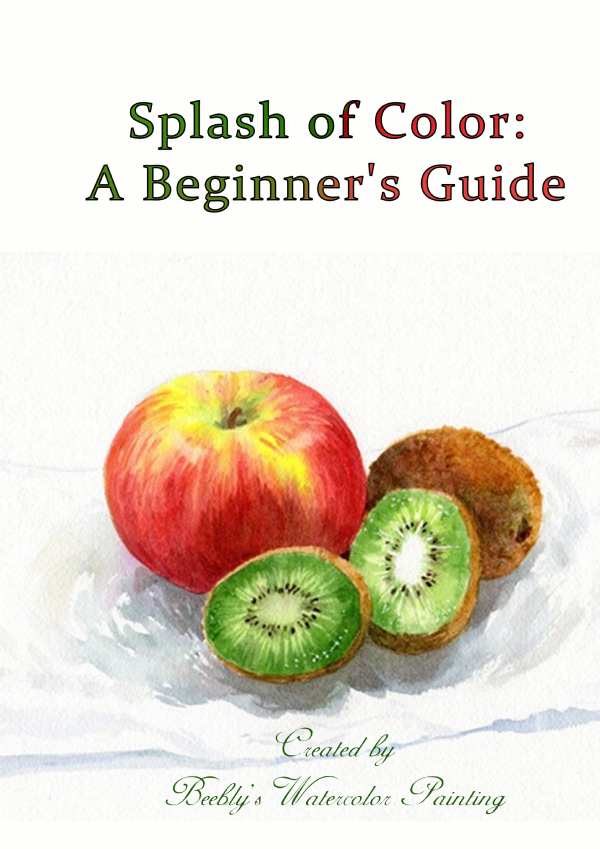
- Over 20 years of tutorials (new ones are being added soon)
- Over 15 award-winning instructors.
- A thriving social media community.
- Access courses from any device.
- Courses for every skill level.
We can help you grow as an artist!
The Community
Maria Diaz
“

I love exploring different styles and learning from a variety of teachers at Beebly's. Rather than putting all my eggs in ONE basket and following or emulating only one artist, I am now learning from a variety of instructors. I feel I have become a more well-rounded artist thanks to these classes... I will continue trying these tutorials and see if I can beat myself... or maybe even create something better than the original...?
October 22nd, 2014
Pathway To Spring BouquetWatercolor Class Preview: Why 300 lb paper is sometimes a better option than 140 lb paper. How to paint close-up flowers. Why certain brushes are more suitable for certain jobs. Why tilting your canvas can create special effects. How to balance a loose look with a more refined look. How to paint a close-up rose from start to finish. What negative painting is and how to practice it. How to make adjustments by lifting paint. How to use the Mr. Clean Magic Eraser to bring back a white area. How to scrape highlights onto leaves. How to avoid overworking your painting. Reference Photo ...
Categories: Technique Lessons , Beginner Lessons , All Lessons
by Vinita PappasOctober 25th, 2014
Tulip Bouquet Still Life - Painting a Variety of Textures Including Glass and Blue Glass.Watercolor Class Preview: How to do a still-life painting How to prevent your wet paper from buckling when it dries How to paint a bouquet of tulip flowers Why painting petals on different flowers one at a time produces better results How to paint close-up glass containers How to plan a painting with lots of different elements How to paint highlights and shadows How to paint an egg How to paint a lemon What colors to use for painting metallic surfaces When to use painter’s tape and masking fluid How to paint leaves How to avoid mixing unnatural green colors...
Categories: All Lessons , Intermediate Lessons
by Vinita PappasInteresting Articles
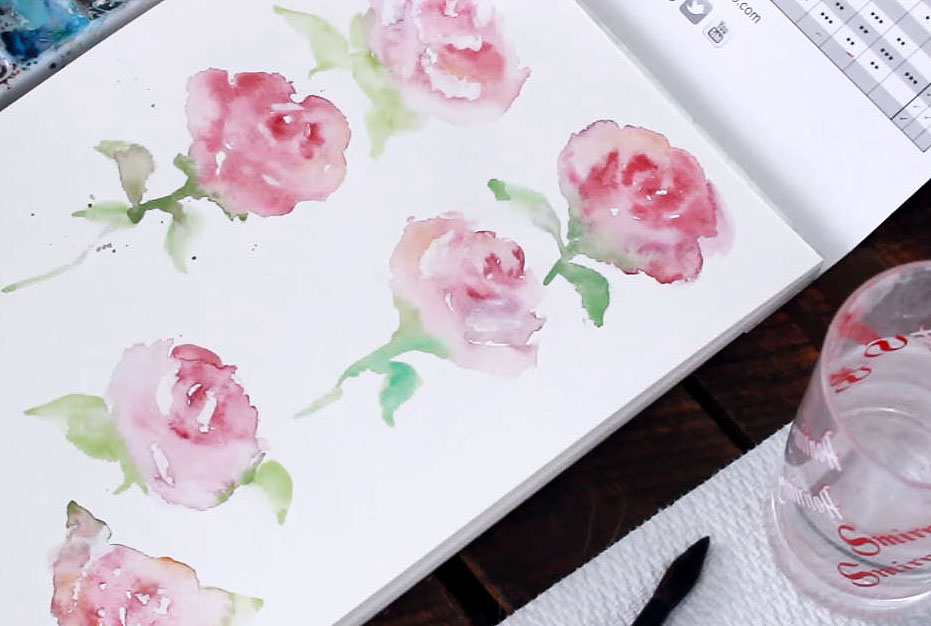
Watercolor May Flowers: Rose Edition Using Easy Watercolor Techniques
"April showers bring May flowers", so here's a fun floral-themed lesson for you to enjoy! Let's paint unique watercolor flowers - rose edition - with Dana as she walks us through some basic watercolor techniques.
Categories: Step-By-Step Painting Ideas
by Greg Conley
May 17th, 2015

Gridding to the rescue! Your tools for practicing watercolor painting.
Gridding to the rescue! Gridding will help you get everything straight. Your output won't look like Naive Art unless that's what you want. Gridding will make sure that you get the proportions right. And it will enable you to put everything in the right places. Without squelching your creativity.
Categories: Preparing for Painting , Beginner Techniques
by Mari (Agnieszka)
February 29th, 2024

Charting a Safe Course: Navigating Watercolor Painting Hazards
Discover essential safety tips for watercolor painting in this insightful article. Learn about selecting non-toxic materials, maintaining a safe workspace, and understanding potential hazards associated with certain pigments. Empower your artistic journey with practical guidance for a safe and mindful painting practice.
Categories: Watercolor Lessons
by Mari (Agnieszka)
November 21st, 2023